Disasters can strike anyone, anywhere. But what if you could face them with the support of your neighbors? Building a neighborhood emergency weather kit is a great way to boost community preparedness and peace of mind. Here’s how to get started:
Step 1: Know Your Enemy
Tornadoes, floods, snowpocalypses… You name it, and Omaha’s seen it. Figure out what kind of extreme weather your area throws your way the most and how often. This will help you decide what supplies to prioritize in your neighborhood kit.
Step 2: Assemble the Team
The key to a successful neighborhood kit is collaboration. Reach out to your neighbors and gauge their interest. Brainstorm ideas, divvy up tasks, and figure out a budget that works for everyone.
Step 3: Divide and Conquer
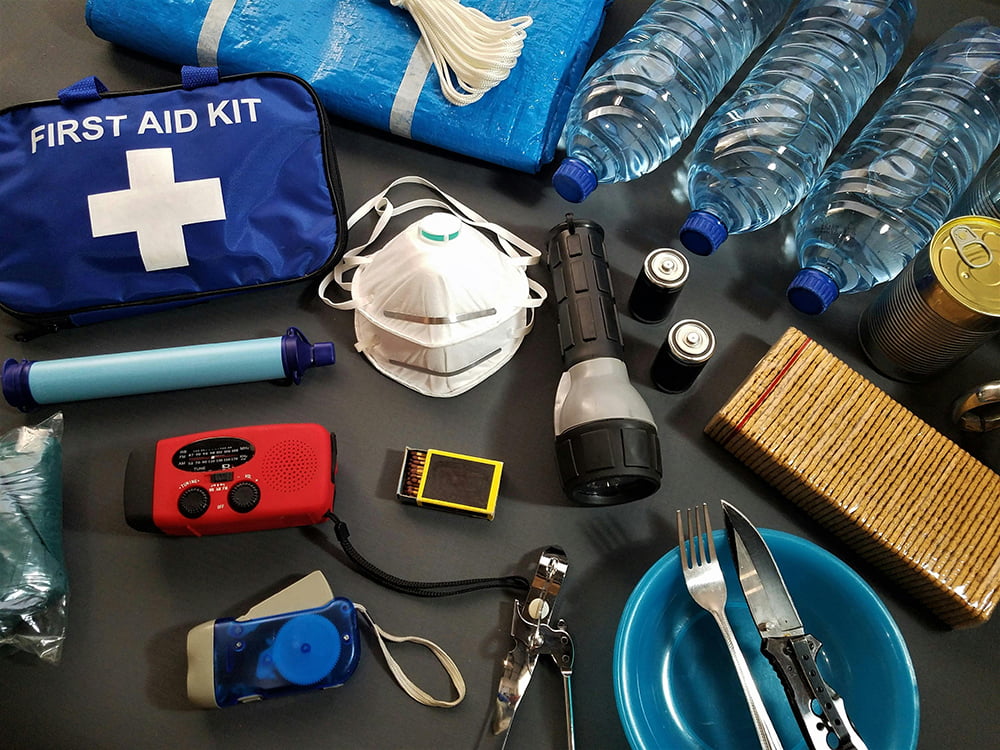
To avoid a mountain of duplicate can openers, assign categories for supplies. This way, you’ll have a well-rounded kit without unnecessary extras. Here are some ideas to get you started:
- Water: Aim for one gallon per person daily for at least three days.
- Food: Focus on non-perishable, easy-to-prepare options with a long shelf life (canned goods, energy bars).
- First Aid: Include bandages, pain relievers, and antiseptics. Remind neighbors to keep extra personal prescriptions on hand for emergencies.
- Sanitation & Hygiene: Consider wipes, garbage bags, soap, and menstrual products.
- Shelter: Tarps, blankets, and emergency ponchos can provide temporary shelter.
- Communication: A battery-powered or hand-crank radio, satellite phone, and walkie-talkies can help keep everyone informed.
- Lighting: Flashlights with extra batteries are crucial during power outages.
- Tools & Supplies: A multi-tool, roll of duct tape, and work gloves can be lifesavers.
Step 4: Remember the Extras!
Consider including items for specific needs within your neighborhood:
- Pet Supplies: Food, leashes, and waste bags for furry friends.
- Baby Supplies: Formula, diapers, wipes, and medications.
- Accessibility Needs: Extra batteries for hearing aids and communication aids for those with speech difficulties.
Step 5: Location, Location, Location!
For storage of your kit, choose a central location in your neighborhood that’s easily accessible, even during storms or extreme weather. This could be a community center, a neighbor’s garage, or a designated storage locker.
Step 6: Rotate and Replenish
Schedule regular check-ins (every six months) to refresh the kit. Rotate perishable items, check battery levels, and replace anything expired or damaged.
By working together, your neighborhood can be well-prepared for any weather emergency. A little planning goes a long way, and having a well-stocked kit can make a world of difference when disaster strikes. So get your neighbors involved, and start building your community’s shield against the storm!